
Art is such an important part of childhood, homeschooling, and life in general. It too often gets low on a priority list, though, as we are all so busy.
My girls in particular love art and craft projects, and I'm always on a look-out for ways to incorporate art into our days. Usually, as the girls start on a project, the boys end up joining in on the fun.
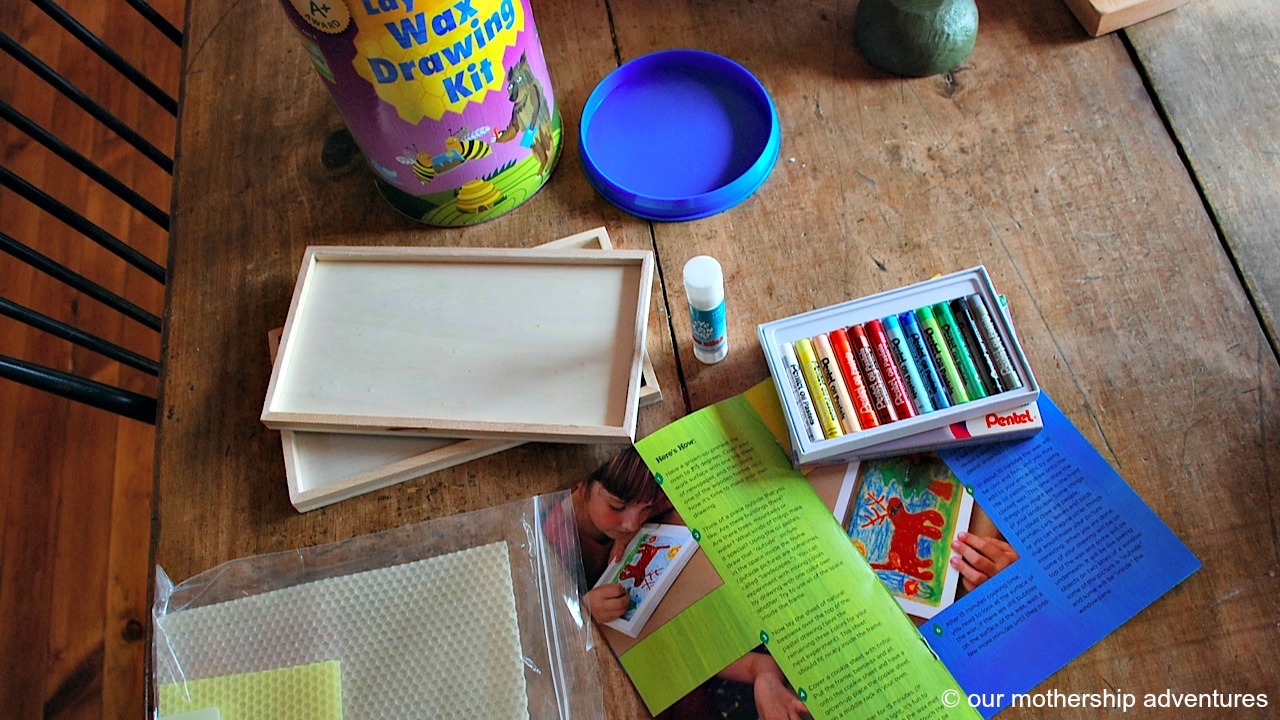
A new to us way to create is various art kits. Today we are excited to review an Eye Can Art Layered Wax Drawing Kit with you all.
Our kit arrived in the mail, including all we needed to do two layered wax drawings. Normally $28, we were provided a free can for an honest review of the product.
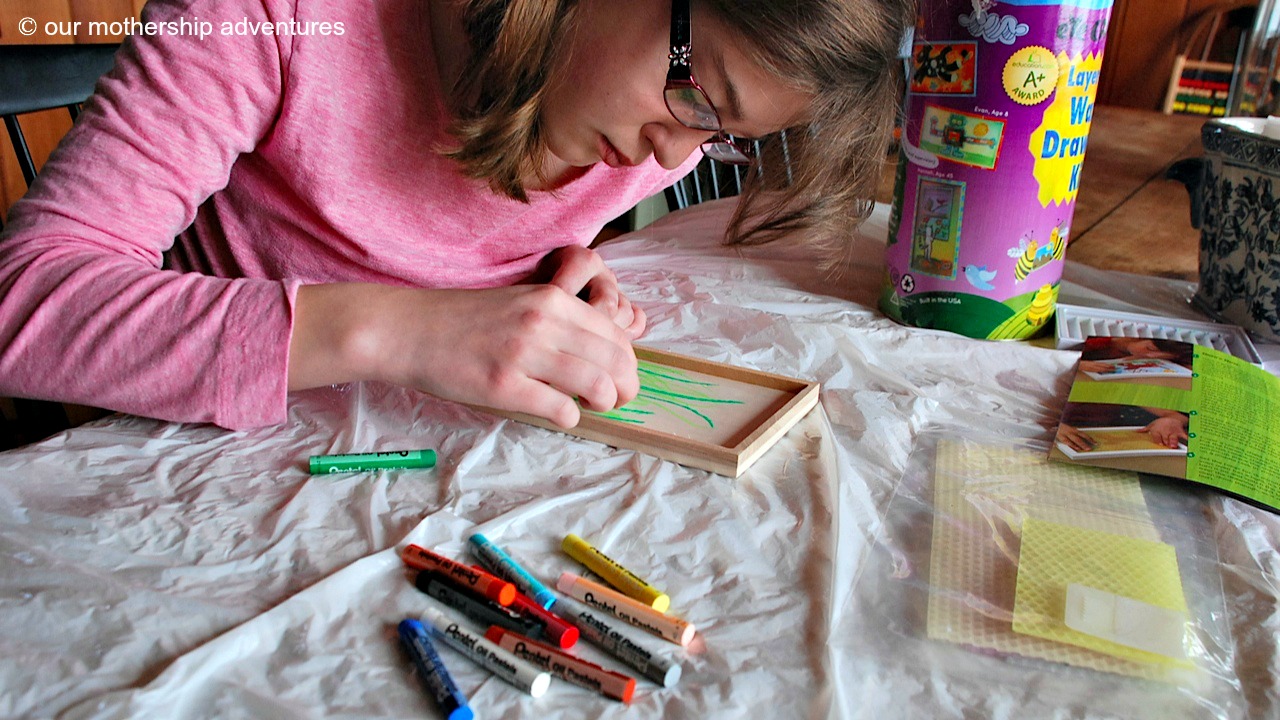
We read the instructions, including a brief history on this encaustic technique to make beautiful art. Missy started on hers, by drawing directly on the wooden frame with oil pastels.
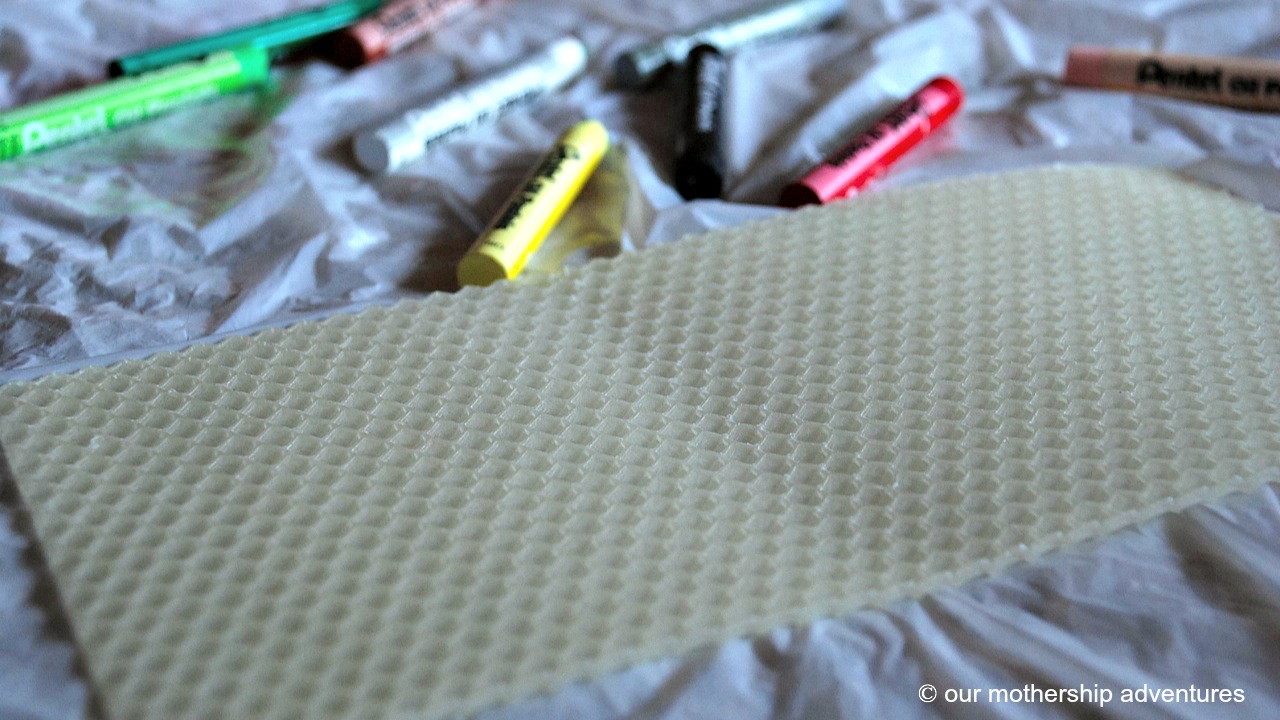

Once she had finished her drawing, we placed the wax layer on top.
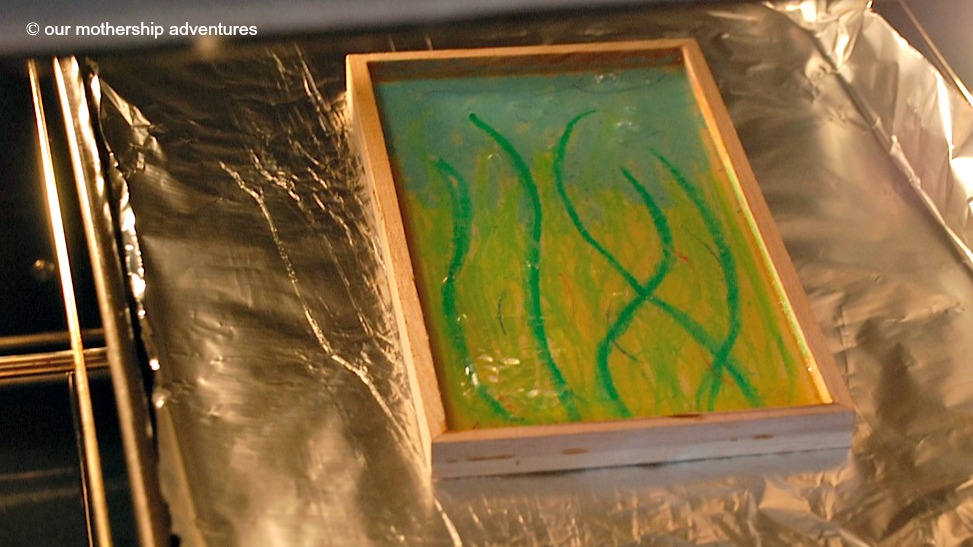
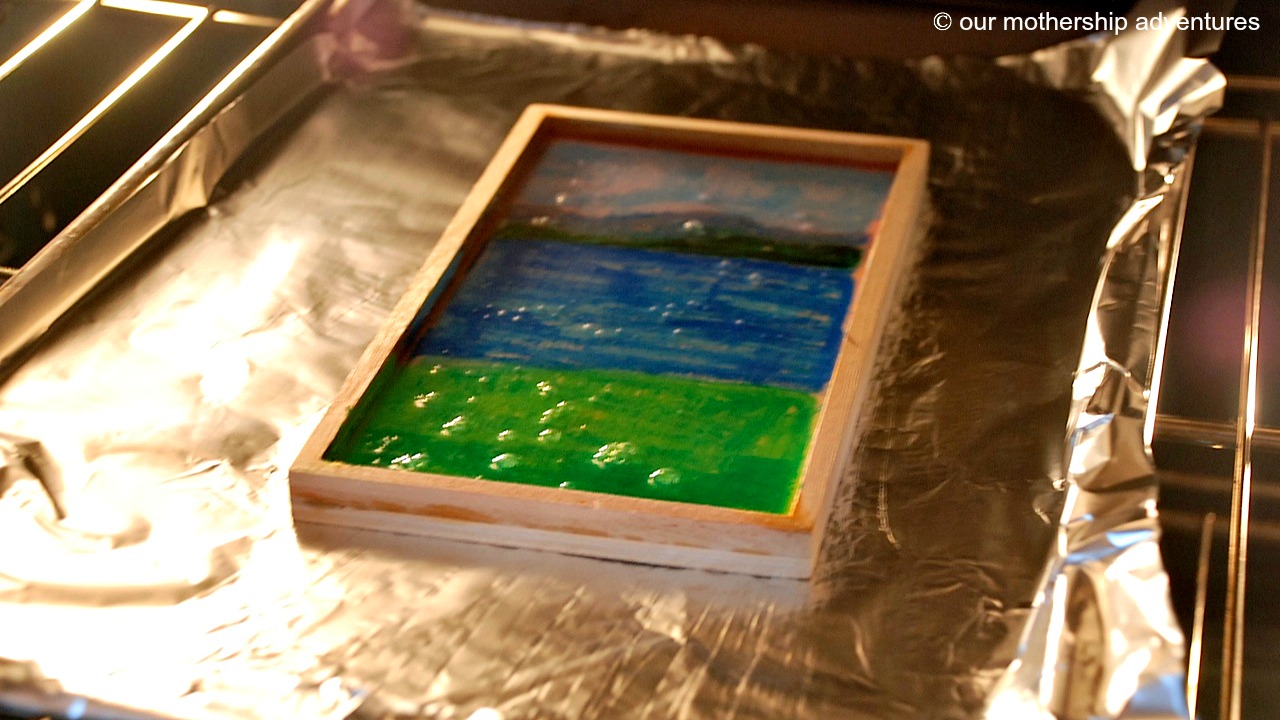
We had preheated the oven to 215F, and placed the wooden frame (with wax) on a cookie sheet, covered with aluminum foil. We baked it for a little more than 15 minutes, until wax had melted, and all bubbles popped. After coming out of the oven, it needed to cool for about 15 minutes.
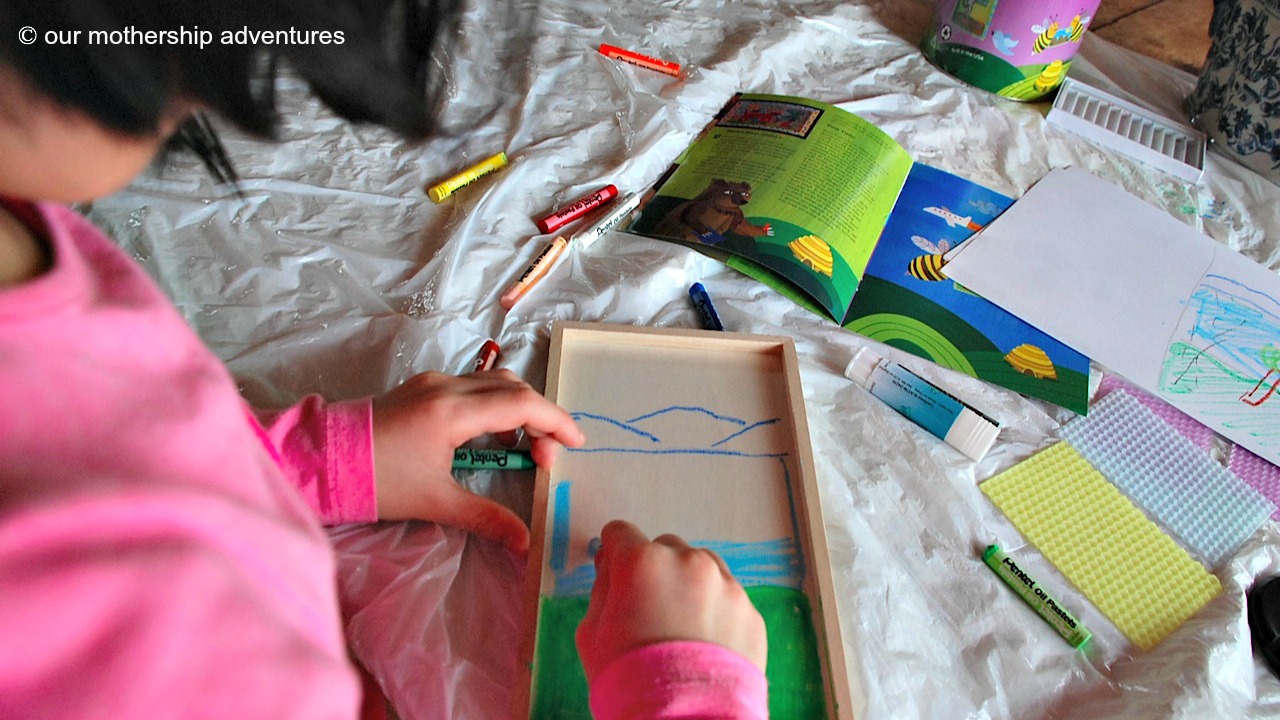
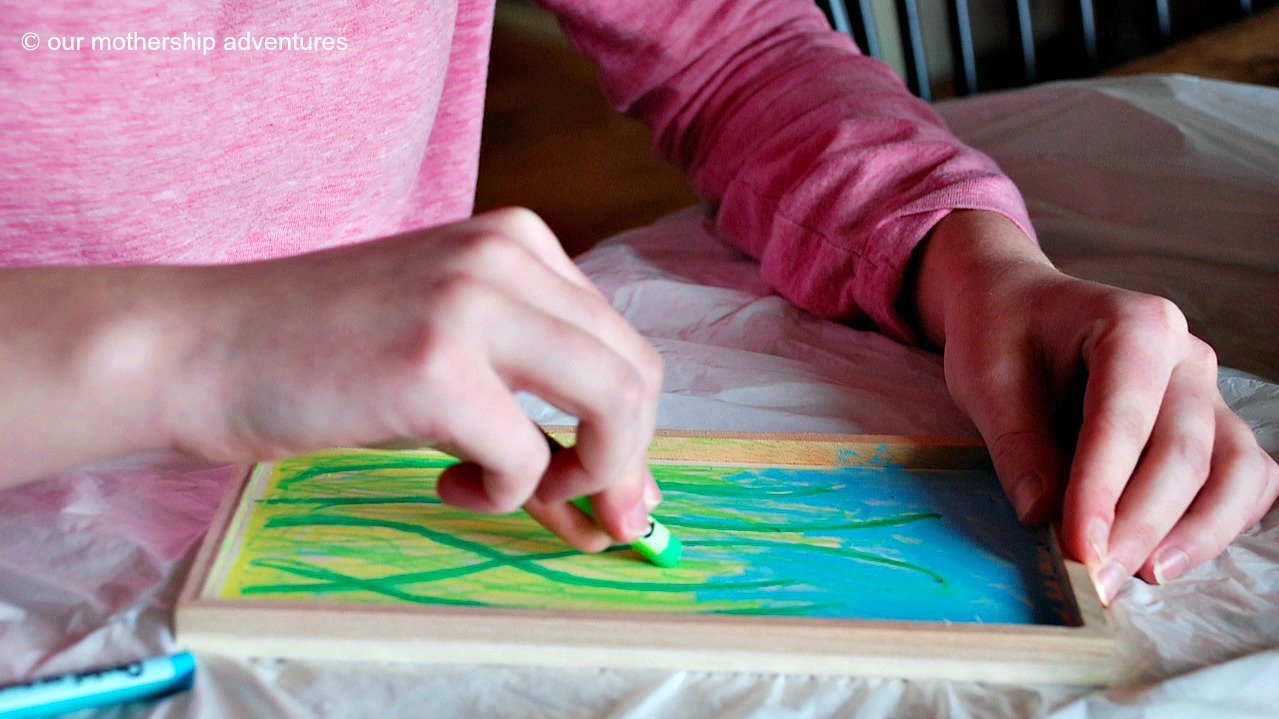
While Missy's drawing was baking and cooling, Little Miss and I started on our joint project. We had first sketched our drawing on paper, then on the wooden frame.
We wanted to fill the entire frame with color.
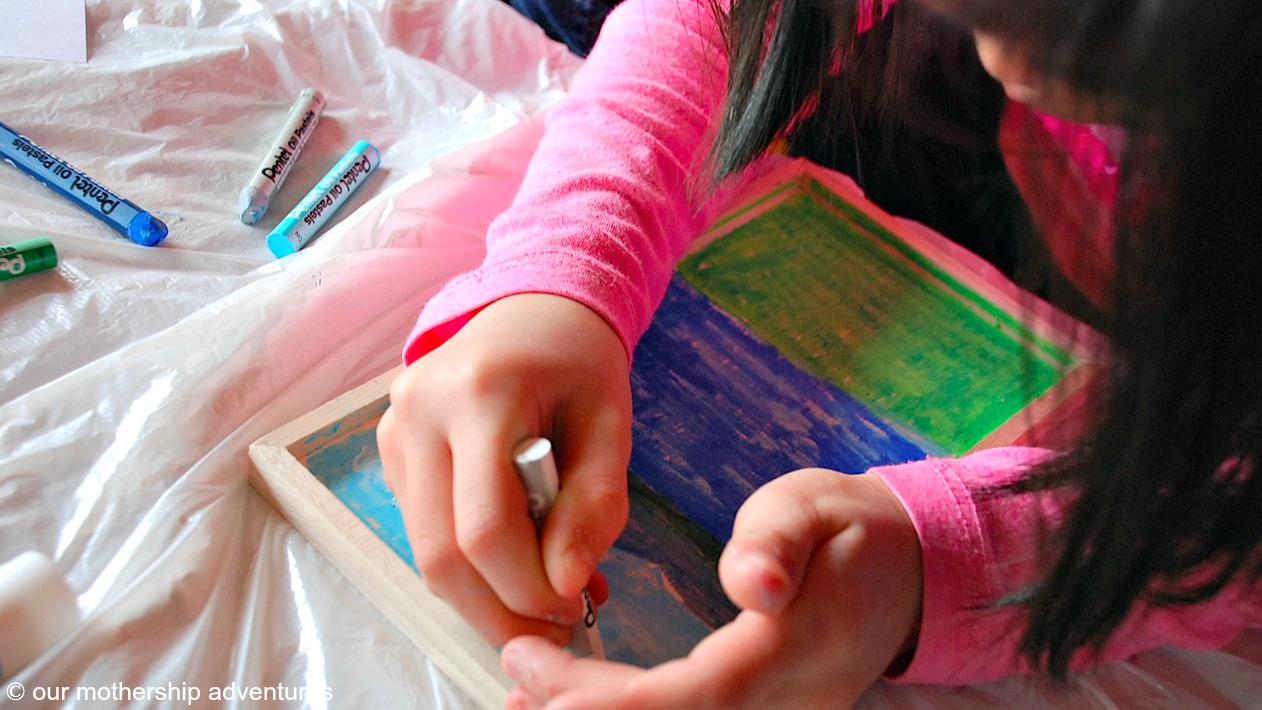
Since Missy had used the one natural color wax layer, that came in the can, we used the three smaller colored wax pieces.
Then baked ours.

Once Missy's picture had had a chance to cool down, she continued to draw on it, creating a depth to her piece. Her red flower popped out of the picture, while the greenery in the background was softly muted, thanks to the wax layer on top of the oil pastels.
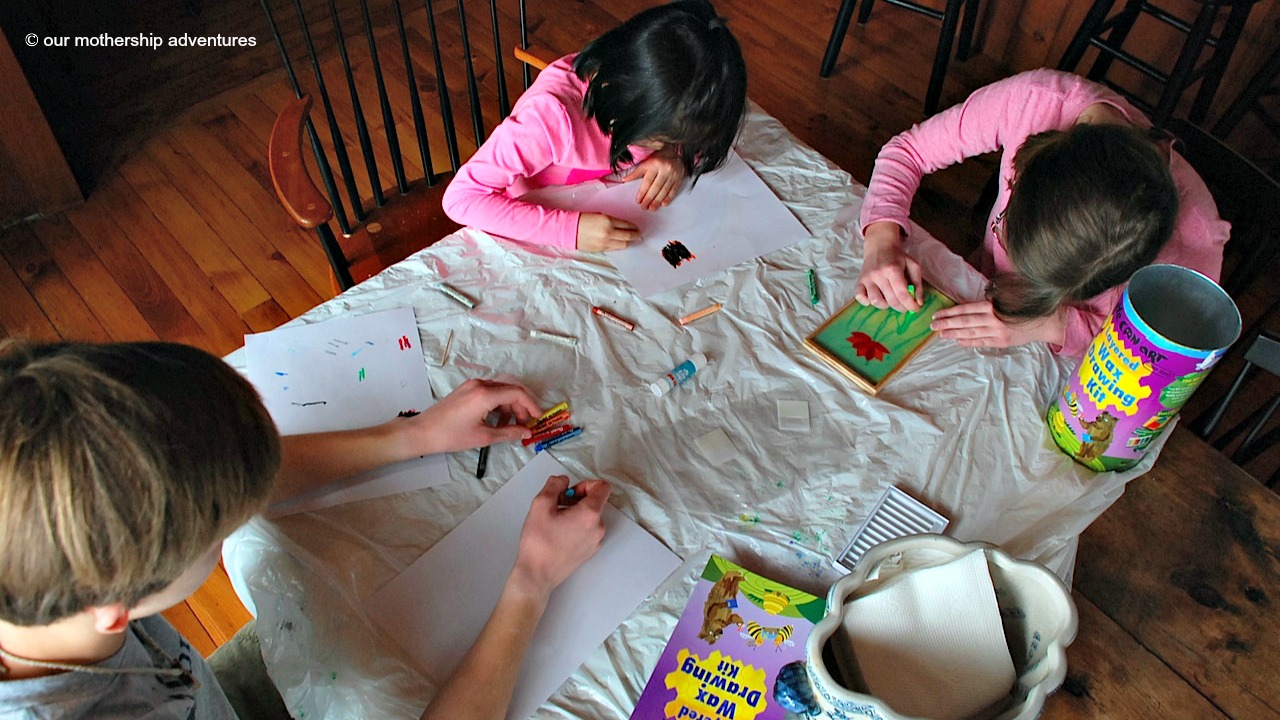
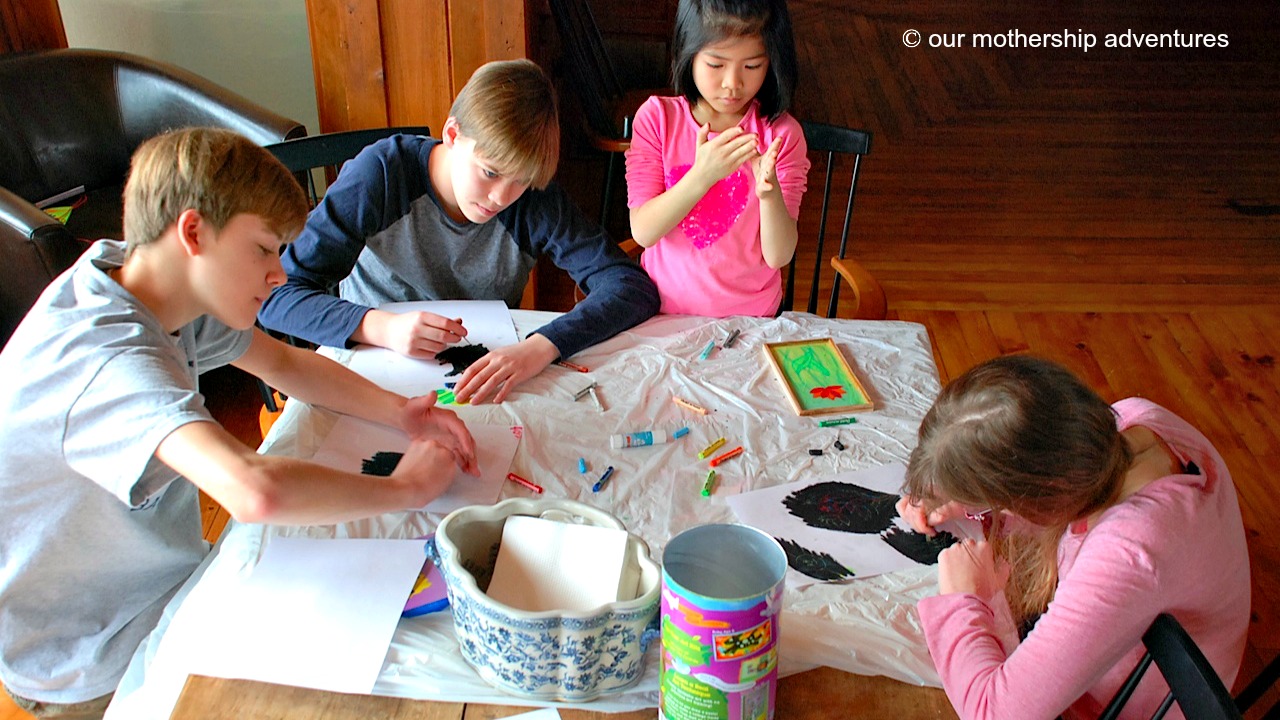
While our can didn't have enough wooden frames or wax for the boys, they started to experiment with the oil pastels.
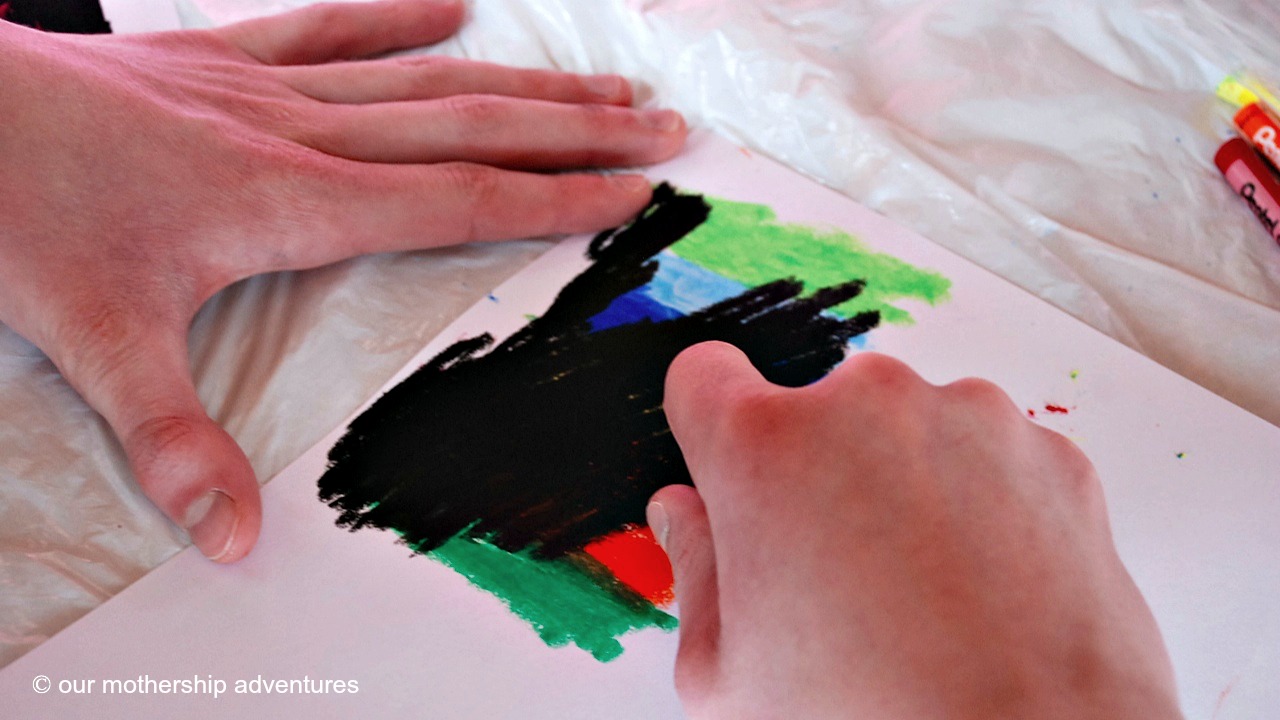
By making a colorful image, then covering it with black, and finally drawing on the black with a toothpick, revealing the colors underneath.
We had a great art lesson! The wax layered drawings did require quite a bit of adult supervision and help, at least with Little Miss (age 7). Missy (age 14) could have done the whole process by herself.

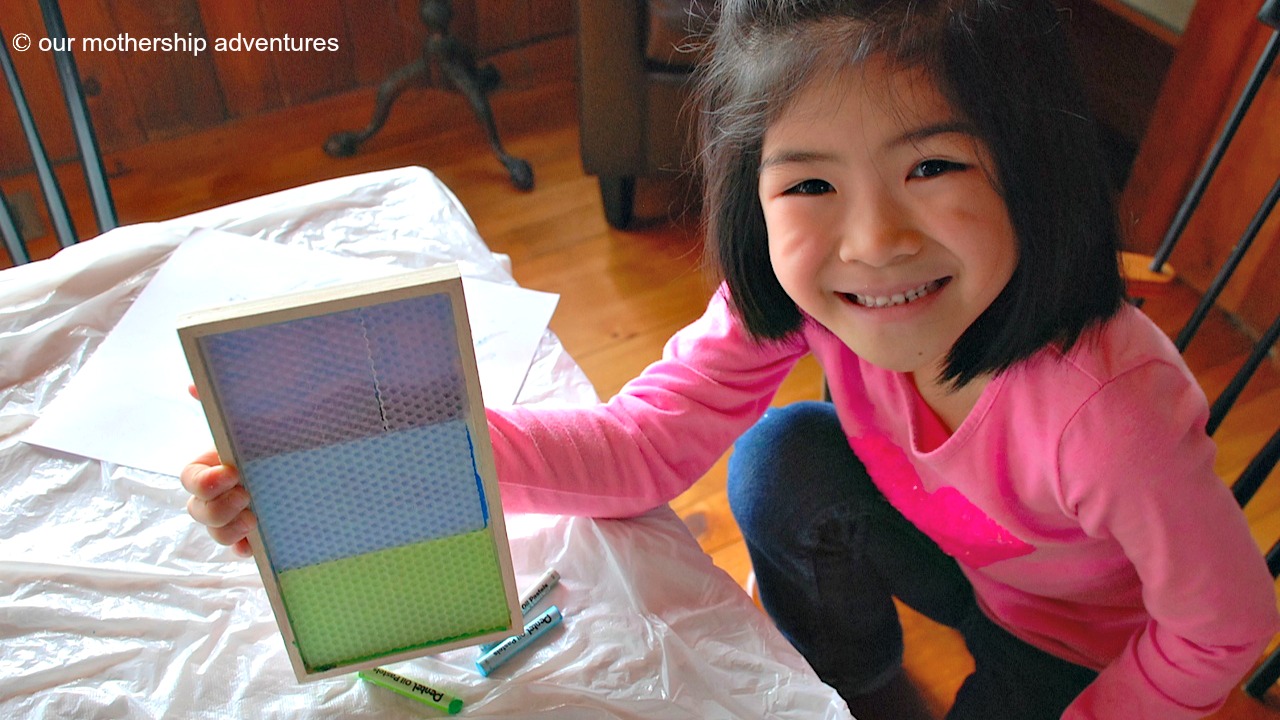
Such beautiful creations! We still need to finish Little Miss' lake drawing, but we had some trouble with the green wax spreading on the lake. (Totally a mom fail, trying to also answer a phone call at the same time.) I was able to re-melt the wax, and tilt the frame slightly, which helped.
Eye Can Art has several different kits of art projects, which can be purchased here. We highly recommend trying a Layered Wax Drawing Kit!
Thank you, Eye Can Art for providing us with such a fun project!
No, kyllähän se vesi järvessä monesri näyttää vihreää heijastavan rannan ruohoista.
ReplyDelete- Upeita.
Alkoi raksuttamaan miten sillä vahalla saisi noita nukenpäitä vahttua. Tulisi kauniita. Ja lämpökin olisi kohdallaan. - Kiitos tästä!
Taiteilijoita talo täynnä!
Hmmm, tilaanko sullekin vahaa? Jos tilaan pojille, heitäkin kiinnosti tämä taide.
ReplyDelete